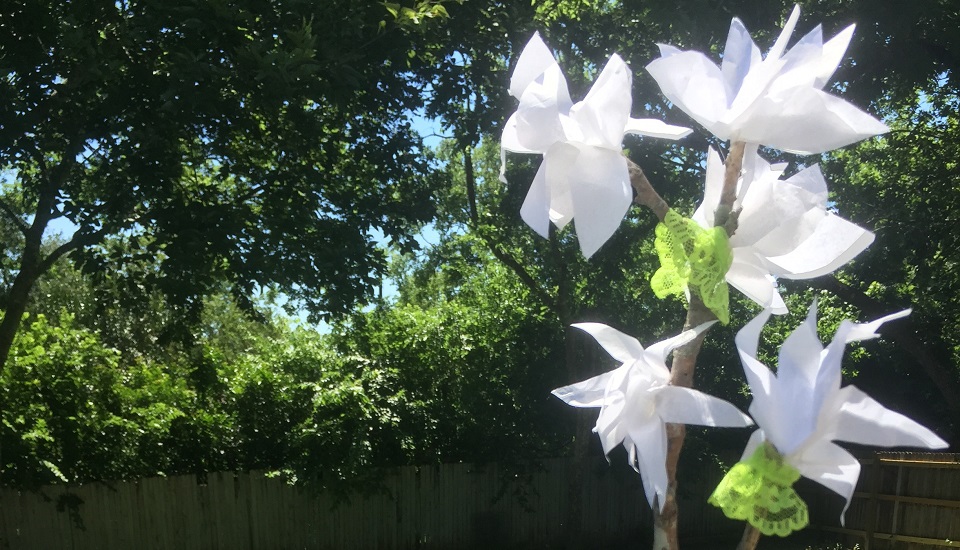
Flowers are blooming, the sun is shining, birds are chirping, and there are plenty of lazy afternoons ahead as we’ve officially transitioned to spring. If you’re like many people, you may find yourself becoming agitated and restless in this season of growth and change. For all those logical types (who are probably the same roll-up-your-sleeves types who are ready to learn how to make tissue paper flowers and just get to the project already), it might comfort you to know that there’s a perfectly reasonable explanation for your springtime itch.
Spring fever is real.
Medical professionals say so, confirming in 2007 what poets have been writing about for centuries. True to stereotype, spring fever may make you feel happier and more in love after the long winter season. It can also translate into rapid and unpredictable moods and energy, giving you a touch of “madness” to infuse your next project. Today, some psychologists believe that this has to do with the extra light we’re exposed to in the spring season — giving us enough wind in our sails to get up and do something.
How you choose to channel your spring fever is entirely up to you, though a delightful DIY project is always a great place to begin. If you need to blow off some steam before you take your kids to the park or take your dog for a refreshing afternoon walk, these tissue paper spring blossoms can be made in less than 10 minutes. Take advantage of your new burst of springtime energy, and add this fun and easy DIY project to your Pinterest board.
Know what else can be easy? Buying a house. Click here to find a Cornerstone Home Lending, location near you.
How to make tissue paper flowers: Supplies
- Tissue paper (white, pink, or another springtime color)
- 2-3 dead tree branches
- Scissors
- Hot glue gun
- Green lace (optional)
Interested in becoming a loan officer? You may be the perfect fit in our growing work-family.
How to make tissue paper flowers: Tutorial
The best part about this project is that it can be made with materials you may already have lying around your house, including the broken branches from your backyard.
Get started
Straightforward, simple, and sweet — here’s where to begin:
1. Gather your materials.

Image: Bethany Ramos
Next
2. Cut small flowers with five petals out of tissue paper. You can fold the tissue paper in half to make this step easier, cutting two flowers at a time. Don’t worry about perfect lines here. “Misshapen” flowers will make the final project look more natural.

Image: Bethany Ramos
Next
3. Add a drop of hot glue in the center of one flower.

Image: Bethany Ramos
Next
4. Place a second flower on top of the first, and press both flowers together into a blossom shape. Repeat with as many blossoms as desired.

Image: Bethany Ramos
When you’re ready to buy a house, the very first step is to get prequalified. Click here to get prequalified online.
Next
5. Cut a small strip of green lace to use as leaves. This step is optional.

Image: Bethany Ramos
Next
6. Hot glue flower blossoms (and hints of green lace) to the ends of the dead branches to create a bouquet.

Image: Bethany Ramos
Next
Place in a vase or Mason jar to display.

Image: Bethany Ramos
Next

Image: Bethany Ramos
We have more simply seasonal projects where this came from. Follow us on Facebook, Twitter, Instagram, and Pinterest for fun DIY crafts and tutorials, plus new home decor ideas we think you’re going to love. Just like your favorite DIY project, buying a house can also be easy. Contact a loan officer for help.
For educational purposes only. Please contact your qualified professional for specific guidance.
Sources are deemed reliable but not guaranteed.

