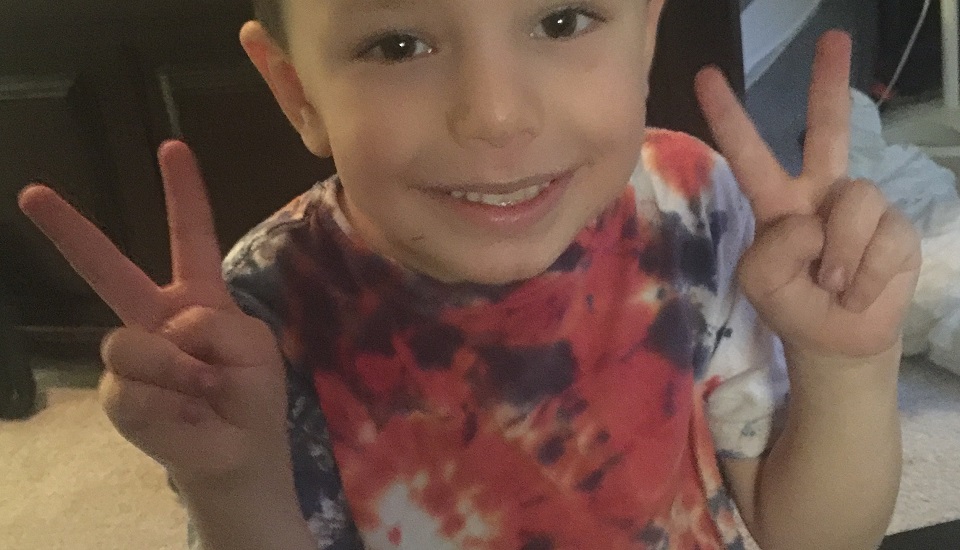
Happy birthday, America! There’s plenty of fun to be had on this patriotic holiday, but we’ve come up with a creative way to celebrate a nation that’s 241 years young. You know you’ve always wanted to try it. This year, you can use our simplified tutorial to make your own red, white, and blue tie-dye shirts.
Buying a house doesn’t have to be hard. Learn more about how we make it easy.
You may remember Fourth of July facts from history class, but we’ll give you a quick refresher. July 4, 1776, was the day the Declaration of Independence was signed. That makes July 4th America’s birthday and our Independence Day. We celebrate this special holiday every year right smack dab in the middle of summer — with parades, barbecues, fireworks, and more.
But you knew all that already. What you may not know about our nation’s annual birthday bash is this:
- Benjamin Franklin was the oldest signer of the Declaration of Independence at age 70.
- George Washington celebrated Independence Day with his soldiers on July 4, 1778, by ordering a double ration of rum.
- Celebrating Independence Day became more common after The War of 1812.
- Congress officially declared Independence Day a federal holiday in 1941.
- Calvin Coolidge was the only U.S. president born on July 4.
- John Adams, Thomas Jefferson, and James Monroe were the three U.S. presidents who died on July 4.
- 63 percent of people attend a fireworks show on the 4th of July.
- 76 percent of people get together with family.
- 80 percent of people go to a barbecue, picnic, or cookout.
How to make red, white, and blue tie-dye shirts: Supplies
- 100% cotton white T-shirt, warm-washed and still damp
- Red and blue RIT dye, prepared according to package directions
- Rubber bands in various sizes
- Large mixing bowls (stainless steel recommended) or bucket
- Rubber gloves
- Wooden spoon or tongs
- Tarp or old tablecloth
Want to pay off your mortgage early? Calculate your biweekly payments here.
How to make red, white, and blue tie-dye shirts: Tutorial
Before you start prepping your food and planning where you’ll watch the fireworks, take care of how you’ll wear your red, white, and blue:
Get started
1. Gather all your supplies. Prepare the dye baths, following package directions. Cover a table with a tarp or set up outside.
Next
2. Fold the white T-shirt in an accordion pleat, diagonally, from one shoulder to the opposite bottom edge.

Image: Bethany Ramos
Next
3. Leave 5 inches at the shoulder section. Then place rubber bands every 3-4 inches down the length of the shirt.

Image: Bethany Ramos
Next
4. Using gloves, dip the larger shoulder section in blue dye, and then alternate each rubber band section in red and white. (White is un-dyed.) Use tongs or spoon to dip and remove. It’s okay to get messy and let the dye bleed some — that’s what tie-dye is all about.
Next
5. You can also use a small plastic bottle filled with dye to apply the solution directly to the fabric.
Next
6. Place the finished product in a plastic bag and let sit for 6 hours. Rinse well with warm water until it runs clear, and then remove the rubber bands. Wash and dry in the washing machine, and wear your handiwork with patriotic pride.
(*Wash separately for the next 2-3 washes.)

Image: Bethany Ramos
It may be time for a career change. Find out more about becoming a loan officer and joining our work-family.
We’re so thankful to live in a great country where buying a house doesn’t have to be hard. Because of all the amazing men and women who’ve served our country, we have the freedom to serve our clients with a full team of loan officers, processors, and underwriters — at the ready to make the homebuying process easy for you. Click here to find out how you can get into a new house without the hassle. That’s reason enough to celebrate.
For educational purposes only. Please contact your qualified professional for specific guidance.
Sources are deemed reliable but not guaranteed.


